Chris Padilla/Blog
My passion project! Posts spanning music, art, software, books, and more. Equal parts journal, sketchbook, mixtape, dev diary, and commonplace book.
renderdoes just that, simulates the DOM tree of your componentcleanupis being used to reset the component should we need to run other tests.- Most notably, the
fireEventmethod does exactly what it says, and then we can run the same assertion to confirm it's only been run once. - Terry Pratchett: A Life With Footnotes - Rob Williams
- Pyramids - Terry Pratchett
- Fun With A Pencil - Andrew Loomis (Not an audiobook, but here it is!)
- Understanding Comics - Scott McCloud
- This Github conversation highlights why Jest finds an issue with compiling a seemingly unrelated package, which was my case. Remark was not used in my test directly.
- I found that Jest actually has an experimental native solution for using ECMAScript Modules
- I spent a great deal of time playing with the Jest and Babel Config, trying to get babel to transpile Remark.
- Import the dependencies
- wrap both in a
jest.mockmethod - Return the mocked result of those calls.
- Albums
- Blog Posts
- chrisdpadilla.com/spring
- chrisdpadilla.com/nextrerouting
- chrisdpadilla.com/acnm
- I'm grabbing my slugs from both albums and posts
- I'm iterating over both
- For each slug, I check if it already exists.
- If so, add it to the
recurringSlugarray - Check for an empty
reccuringSlugarray. Postis the react component rendering our page. It receives post fromgetStaticPropsgetStaticPropsis taking the slug from our url params/:slugand is looking for the matching post. Otherwise, it throws a 404.getStaticPathsis gathering all possible slugs for this page and will tell next to generate the static pages.
Still Life and Plant Construction
Miranda and I did some still life together. Can you tell which one is her's?? (It's the really good one!) 🍐

Some plant construction studies in the mix, too


Aurora Borealis
The pieces in the Faber method are so delightfully musical! Beats the Rubank wind instrument books by a long shot. 🌌
The Best Time To Be an Autodidactic Polymath
Autodidact is the 10 dollar word for saying someone is self taught. Polymath is the one for someone who's know-how spans multiple subjects.
Wikipedia keeps a tidy list of Autodidacts, some of them are polymaths.
Here are a few of my favorites:
Libraries raised me. I don't believe in colleges and universities. I believe in libraries because most students don't have any money. When I graduated from high school, it was during the Depression and we had no money. I couldn't go to college, so I went to the library three days a week for 10 years. — Ray Bradbury
Here's Terry Pratchett, a great autodidact, on his schooling:
I didn't go to university. Didn't even finish A-levels. But I have sympathy for those who did.
It comes up in Terry's biography that, late in life, he takes up professorship to explain to creative writing students all the reasons why you can't teach creative writing in a classroom.
My absolute personal favorite has to be David Bowie: a "singer, musician, multi-instrumentalist, actor, and painter, only received a few singing lessons in the 1960s."
A few others include Mark Twain, Charles Dickens, Heitor Villa-lobos. I've also written about Walt Stanchfield, Disney animator, mentor, musician, poet, writer, and teacher.
Easier Than Ever
Stories like this inspire me because it's where my mind bends. I'm always falling into learning something new. I also have trouble feeling like I can settle into one practice. I feel more fluid creatively when I have many different post boiling. So it's comforting to see legendary levels of fooling around, people stepping into different roles and mediums, while still bringing the same creative spirit to each.
I taught myself web development, but then again, we're all teaching ourselves on the job. The learning never stops.
The same is true in art and music. I went to music school, but my day to day musicing is a result of learning new instruments and styles everyday. SO MANY visual artists are largely self taught these days, myself included.
Creative work today, in software or music, leads to constantly evolving inherently. We're also living in the absolute best time to learn new things all the time with having access to the internet. Y'know, the world's repository of knowledge.
Because it's so easy to self teach, it's also easier than ever to be a multifaceted creative.
These fancy words — Autodidact and Polymath — felt more like exceptions. Now, the thrilling thing to me is that we all can wear those fancy labels.
Testing Data Fetching Components + Other Jest Gotcha's
Testing Results of an API Call in React
While running an integration test on a React component, we don't need to test the API. But, we are typically interested in testing that our results are rendering appropriately in the component. Juggling this type of integration test takes a bit of setup an specific steps:
First, we need to mock the global fetch package. Jest Fetch Mock handles this nicely for us. We can set that globally like so:
import React from 'react';
import { render, cleanup, waitForElement } from '@testing-library/react';
import MovieDetail from './MovieDetail';

global.fetch = require('jest-fetch-mock');
Within our test, we'll want to mock the call and return fake date:
test('<MovieDetail />', async () => {
  fetch.mockResponseOnce(
    JSON.stringify({
      id: 'hi',
      title: 'Cool Movie',
    })
  );

  ...

 }
Note the async! We'll need to await later within our function.
From there, we will need to wait for the effects to kick in from the API call and verify the DOM changed with the new data:
  const { debug, getByText, getByTestId } = render(<MovieDetail match={match} />);
  await waitForElement(getByText('Cool Movie'));
  expect(getByTestId('movie-title').textContent).toBe('Cool Movie');
I found on Tania Rascia's post on testing that there's a slick one-liner way to do this with findBy, which rolls waitFor and getBy into one assertion:
expect(await findByTestId('movie-title').textContent).toBe('Cool Movie');Violà! Here's the full integration test:
import React from 'react';
import { render, cleanup, waitForElement } from '@testing-library/react';
import Film from './Film';

global.fetch = require('jest-fetch-mock');

test('<Film />', async () => {
     fetch.mockResponseOnce(
        JSON.stringify({
             id: 'hi',
            title: 'Cool Movie',
    })
  );

     const { getByTestId } = render(<MovieDetail match={match} />);
    expect(await getByTestId('movie-title').textContent).toBe('Cool Movie');

 }
Other Floating Notes
Install types for that sweet, sweet autocomplete:
{
     "devDependencies": {
        "@testing-library/jest-dom": "^5.16.5",
        "@types/jest": "^29.4.0",
    }
}
Difference between getBy vs queryBy
queryBy It's a "Maybe." Maybe it exists, maybe it doesn't. queryBy will check if it's there or not. You can use queryBy to assess later if it's a good or bad thing that the element is or isn't there.
getBy, however, will strictly find an element and error out if it doesn't find the element, automatically failing your test.
Code Coverage
$ jest --coverageGenerates a report that shows percentage of your codebase covered. The general wisdom is to not overly rely on this as your source of truth. You can have complete coverage with breaking tests, or even coverage with passing tests and a broken user experience.
Testing A Component That Uses React Router
A common gotcha is working with React Router's match props that get passed into page-level components. If hitting errors when testing a component, the way through is 1. By using memory router and 2. by mocking your match object
import { MemoryRouter } from 'react-router-dom';

test('<Movie />', () => {
  render(
    <MemoryRouter>
      <Movie />
    </MemoryRouter>
  );
  // assert here
});
Clearing your Mock calls
If running multiple tests in a suite and spying on mocked function calls, you may need to clean up the call counter after each test. Here's an example of resetting a console.error spy:
afterEach(() => {
  cleanup();
  console.error.mockClear();
});

console.error = jest.fn();
cleanup(); is doing the same for React components - otherwise, state and props will linger from test to test.
Spy Functions in Jest
After sinking too much time wrestling with Jest configs, I decided I needed someone to walk me through the full scope of testing in JS and React. Scott Tolinski at Level Up Tutorials has a great course on React Testing that hits the goldilocks pacing here.
Going along, two different techniques to testing came up to broaden the palette: Spy Functions.
Mechanical Testing
The first thing that comes to mind when writing tests is the mechanical approach. You run a function with some data, and then expect a certain result. The classic example:
test('Adds', () => {
    const res = add(1, 2);
    expect(res).toBe(3);
})
Say, though, that you're interested in a few details in between. For performance with React, in particular, I may be concerned with how many times this method is called in an integrated environment.
Enter Spying:
Spying
test('Math', () => {
    const res = math(add, 1, 2);
    expect(math).toHaveBeenCalledTimes(1);
})
The above example is trite in Vanilla JS, but this demonstrates another dimension of assertion. There's an opportunity to verify that there are no odd bugs from multiple calls or any performance issues tied to is.
In a react context, there's a way to assert this with the help of React Testing Library:
import React from 'react';
import { render, cleanup, fireEvent } from 'react-testing-library';
import Form from './Form';

afterEach(cleanup);

test('<Form />', () => {
  const onSubmit = jest.fn();
  const { debug, getByTestId, queryByTestId, getByText, container } = render(
    <MovieForm submitForm={onSubmit} />
  );
  const submitButton = getByText('Submit');

  fireEvent.click(submitButton);
  expect(onSubmit).toHaveBeenCalledTimes(1);
});Kent C. Dodds would add that in these cases, verifying the correct arguments are being passed adds security to the assertion:
fireEvent.click(submitButton);
expect(onSubmit).toHaveBeenCalledTimes(1);
expect(onSubmit).toHaveBeenCalledWith(add, 1, 2);
A helpful tool for sniffing out unexpected issues in an event driven environment! 🕵️♂️
The Haps - January 2023
Yearly reviews, I think, are simply not enough! So much life happens month to month, and projects float in and out so quickly. I want to take time to do some newsletter-ing - both for y'all, letting you know what I'm up to — but also for myself. Keeping a logbook on where I'm heading and where I've been. I've always been in love with this practice, even if I never end up looking back at those notes!
So HERE WE GO!
Blogging
I'm playing around with finding ways to blog more. My goal is to share something almost everyday. The reason behind it is that I get so much out of people online freely sharing their work and insights, I want to be someone that contributes back in whatever way I can. Writing feels like a great way to do it, and practicing daily is a good pace for just that. It's also fun!! I simply like making things, and writing is a quick way to create!
I already write like crazy everyday. I brain dump every morning onto three sheets of paper, keep notes on my projects in markdown, and spend too much time organizing said notes. So now I'm trying to find the process that will keep writing publicly sustainable.
My first attempts in January honestly left me burnt out — hence a few gaps in the schedule. I think that's a normal pattern for me — go all in and then reel it back in to a managable system. So we'll see. All this to say - if posting seems sporadic, bear with me. :)
Tailwind & Testing
We're doing a major redesign at work and are implementing a new Design System through Tailwind. It's a divisive framework, but I have to say, I've really liked it so far!
I've also been filling in my coding gaps by exploring testing. I had a few embarrassing errors on this site that really pushed me to get up and do it. It's also one of my resolutions this year to write sturdier code. So here we are! I'm doing lots of reading on testing and am playing with Jest and Cypress.
I wrote a ton about all this on my blog.
Music
The biggest news here is, for the first time, I'm publishing music beyond bandcamp over to Spotify, Apple Music, and pretty much all music streaming platforms!! I signed up for Distrokid and it's been great so far. I'm dragging my feet on getting all of my music up, but we'll get there!
On this site, I also created canonical pages for my albums instead of just linking out to bandcamp. (Here's the one for the AC: New Murder Soundtrack, for example.) Maybe someday I'll get audio playing going!

I released Meditations this month! My amazing friend Calvin Wong (web | Instagram) lended his photographic eye and artistry to the cover, and it makes my music seem SO MUCH cooler and sophisticated! 😂
Drawing
After finishing my first sketchbook, I decided that I want to keep going! At the risk of having too many projects going at once, I'm making a considerable effort to draw every day.

I've dreamed of drawing regularly for ages in the same way that I dreamed of writing music. I grew up reading webcomics and, as a kid, would ask my folks to stop by half priced books to pick up Garfield comics.
So, I'm making time for it! Lots of learning and being plain ol' bad it it, and it's great! My main learning materials this month have been drawabox, Fun With A Pencil by Andrew Loomis, and copying one of my favorite artists, Louie Zong. Namely, I'm going through plant and (begrudgingly) bug construction on Drawabox.
You can see what I've made so far through the Art tag on my blog. I'm also sharing drawings on Instagram.
Words and Sounds
I've missed audiobooks!! I'm trying Audible out again, and here's what's on deck:
My favorite music I've listened to this month:
Also, on New Years Eve, Miranda and I watched the new Top Gun and I un-ironically think it's a perfect film.
Life

Miranda was a big sweetie and gifted us tickets to hear the Tchaikovsky violin concerto, a piece I listened to on loop after graduating from UT. Violinist Rabdall Goosby was 🔥. LUTOSŁAWSKI's Concerto for Orchestra might have been my favorite, though!

It snowed(?) in Dallas, as it does this time of year! Not nearly as bad as snowmageddon from a couple of years ago.

The Haps
Thank you for reading! I'll plan on keeping this going monthly.
A thank you to the inspirations for this. I know it's not necessarily novel, newsletters exist, tons of people give these style updates, but here are the folks that really settled this idea in my noggin:
Dave Rupert has a series of posts he calls "Vibe Checks." The gist is to get a sample for what's going on in work and life at that moment in time.
Derek Sivers in the same vein also initialized a trend for having A Now Page on your website to cover what you're working on at the moment.
Caught In the ESM Migration
I was having issues with integrating packages in Jest last week and realized it's partly due to being caught in the great migration from CommonJS to ESM support:
This ESM FAQ and discussion was listed on Remark's readme. Clearly, the topic is a hot button one.
Same day, I happened to listen to Syntax's episode on ESM.
Wes and Scott highlight that, for a large part, writing ESM has been the norm for many devs thanks to build tools. Yet, technically we're still shipping CommonJS once Webpack/Babel/Parcel transpile the code.
The burden, then, is on maintainers of open source packages to wrestle with this overhead. I can see why some would opt to take the leap for simplicity and moving the language forward.
With Jest, I had my work confirmed in another way — handling this is largely a config issue.
Take aways? Why am I writing about this? Partly to document my learning, and also to share that if anyone else is trying to get up to speed in the current testing tooling, mind the gap of getting the tooling to play nice!
All said, I feel a lot less crazy knowing that it's because of a broad, industry wide gradual migration. 🙃
P.S.: Mocking is also probably the best answer to this issue from a testing methodology standpoint. It works for Uncle Dave.
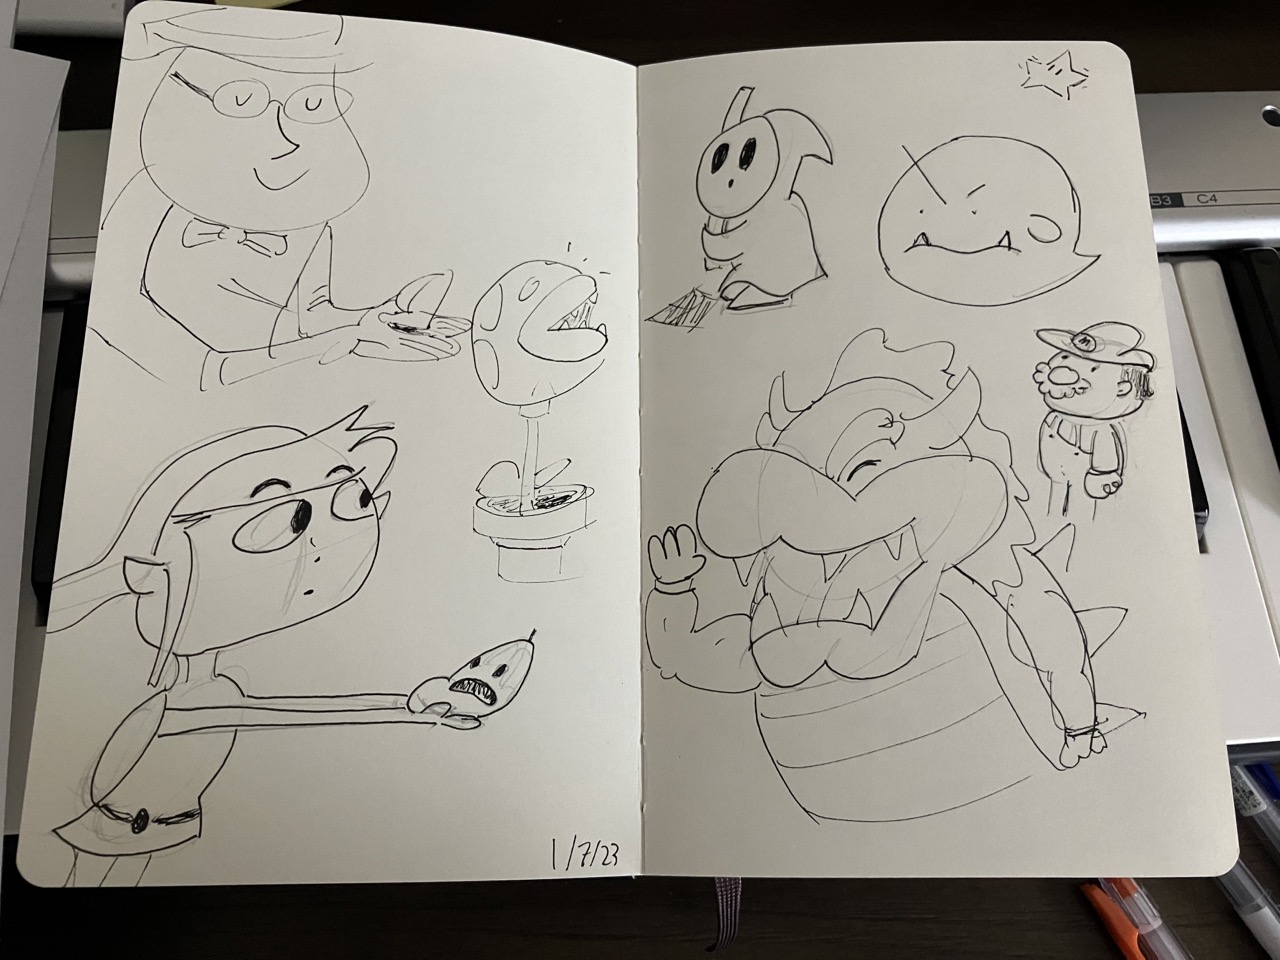
Draw From Life, They Said
More sketches! 🦖
Also getting back to my roots and drawing funny Nintendo characters.

Money Jam
Jams over chords for a tune called Pay Me My Money Down. $$$
Mocking Packages in Jest
Compile Error
Last time when running my jest tests, I got an error, but it's not related to the test. The gist of the error was:
Cannot use import statement outside of a module.—in relation to a package I'm importing called remark.
Initially, I assumed it was a transpile error. Thus ensued a run down the rabbit hole of configuring Jest to transpile ESM files to CommonJS.
I could say there were some interesting finds from that tangent:
All dead ends for me.
The final recommendation I came across was to give up and find a better package.
An unsatisfactory solution at first, but it got me thinking about how I was very likely overlooking a simple solution.
Mocking
I learned first hand, logistically, the benefit of mocking to solve an implementation error. But that limitation also highlights why you mock. It's to isolate your tests to your own systems.
Nowhere along the journey of setup was there an issue with my code. It was with how the package was bundled.
But that's not even my domain to test!
This is the principle behind mocking. You want to abstract away the implementation of outside modules, packages, and systems so you can focus specifically on what unit or internal systems you're trying to test.
Implementing in Jest
Thankfully, the application of this is very straightforward with Jest.
import { getAlbums, getAllPosts } from '../lib/api';
import { remark } from 'remark';
import html from 'remark-html';

jest.mock('remark', () => ({
  remark: jest.fn(() => ''),
}));

jest.mock('remark-html', () => '');

test('Verify no conflicting slugs', () => {...}
In the same test file, we:
Remark is a library that my function calls don't really even need access to, so returning empty strings should do just fine.
And there we go! Jest is smart enough to know now that it doesn't even need to look inside either of my remark modules now that we have mocked versions of them.
I can now go along happily testing my slugs with each blog post and album release.
Verifying No Duplicate Routes with Jest
I'm in a situation where I just implemented dynamic routes at my site directory in Next. Essentially, I have two sources of pages:
They both are rendered on pages with slugs in this fashion:
One reason people advocate against this is that the namespace becomes cluttered. It's possible, then, to accidentally have an album and a blog title have the same slug.
Maybe a trite example since I'm a sole operation here — I should be able to catch something like that. But writing an integration test will help me sleep at night knowing that there's no way this would happen on accident.
Jest
My first step in setting up tests for the site was getting a few End-to-end checks. I've set up Cypress and written tests that verify the happy path on my site works.
Cypress can handle unit tests, but is a bit heavy handed for the solution. Jest is the long time favorite in this department, so I'm opting to bring that into the mix here.
Writing The Test
I'm modeling my configuration after the example in the Next.js repo.
With Jest running, I wrote out the test:
import { getAlbums, getAllPosts } from '../lib/api';

test('Verify no conflicting slugs', () => {
  const albums = getAlbums();
  const posts = getAllPosts(['slug']);

  const slugs = {};
  const recurringSlug = [];

  const verifyUniqueSlug = (item) => {
    const { slug } = item;
    if (slugs[slug]) {
      // Fail test
      recurringSlug.push(slug);
    }
    slugs[slug] = true;
  };

  albums.forEach(verifyUniqueSlug);
  posts.forEach(verifyUniqueSlug);
  expect(recurringSlug).toEqual([]);
});
To break it down:
Voilà! I can sleep more soundly knowing that there are no conflicting slugs.
Rerouting Dynamic Routes in Next.js
I'm a fan of short URLs. "chrisdpadilla.com/island" and "chrisdpadilla.com/cypressgithubactions" are for my albums and blog posts respectively. And they're both more satisfying than "chrisdpadilla.com/music/island" or even "chrisdpadilla.com/2022/06/03/coolblog".
They feel more elegant. It's an aesthetic choice, one that I understand goes against current SEO trends. But I like it, nonetheless!
I've already been doing this with my blog for months. However, I'm now adding album pages to my site. My gut instinct was to go with a nested route: "/music/:album", but I ultimately wanted to stick with shorter URLs.
Here we'll take a look at solving this within Next.js Dynamic Routes.
Original Setup
So, say you're like me and you have a "pages/[slug].js" file in your Next.js App. It probably looks something like this:
import { getPostBySlug, getAllPosts } from '../lib/api';

export default function Post({ post }) {
    // Page component logic...
}

export async function getStaticProps({ params }) {
  const post = getPostBySlug(params.slug);

  if (!post) {
    return {
      notFound: true,
    };
  }

  return {
    props: {
      post,
    },
  };
}

export async function getStaticPaths() {
  const posts = getAllPosts(['slug']);

  return {
    paths: posts.map((post) => {
      return {
        params: {
          slug: post.slug,
        },
      };
    }),
    fallback: 'blocking',
  };
}No sweat with one data source. But what if we have another?
Managing Two Data Sources
It's more straightforward than you'd expect! For the most part, we're just going to add a bit more logic to these three pieces: The React component, getStaticProps, and getStaticPaths. Each will have a way to navigate between the data sources.
Starting with getStaticPaths:
export async function getStaticPaths() {
  const posts = getAllPosts(['slug']);
  const albums = getAlbums();
  const slugs = [...albums, ...posts].map((contentObj) => contentObj.slug);

  return {
    paths: slugs.map((slug) => {
      return {
        params: {
          slug,
        },
      };
    }),
    fallback: 'blocking',
  };
}
The only real change is merging our two sources of albums and posts.
Here's a look at getStaticProps:
export async function getStaticProps({ params }) {
  const album = getAlbumBySlug(params.slug);
  if (album) {
    return {
      props: { album },
    };
  }

  const post = getPostBySlug(params.slug);

  if (post) {
    return {
      props: {
        post,
      },
    };
  }

  return {
    notFound: true,
  };
}
A few simple if statements covers our bases. One performance consideration: I have fewer albums than blog posts, so I'm asking the function to check albums first for a match. Then we can search for a matching post. The nice thing, though, is that since we're generating static pages, ultimately performance will be quick for both content types when the site is built.
Lastly, we'll route our react component to two different page components:
import AlbumPage from '/components/albumPage';
import PostPage from '/components/PostPage';

export default function SlugPage({ post, album }) {
  if (post) return <PostPage post={post} />;
  if (album) return <AlbumPage album={album} />;
}
One of the shorter React components I've ever written! We're just routing here.
I'm not needing to account for 404 cases. That's already covered with this code in getStaticProps:
  return {
    notFound: true,
  };
And that's all there is to it! A little extra traffic control for an, ultimately, cleaner site URL experience.
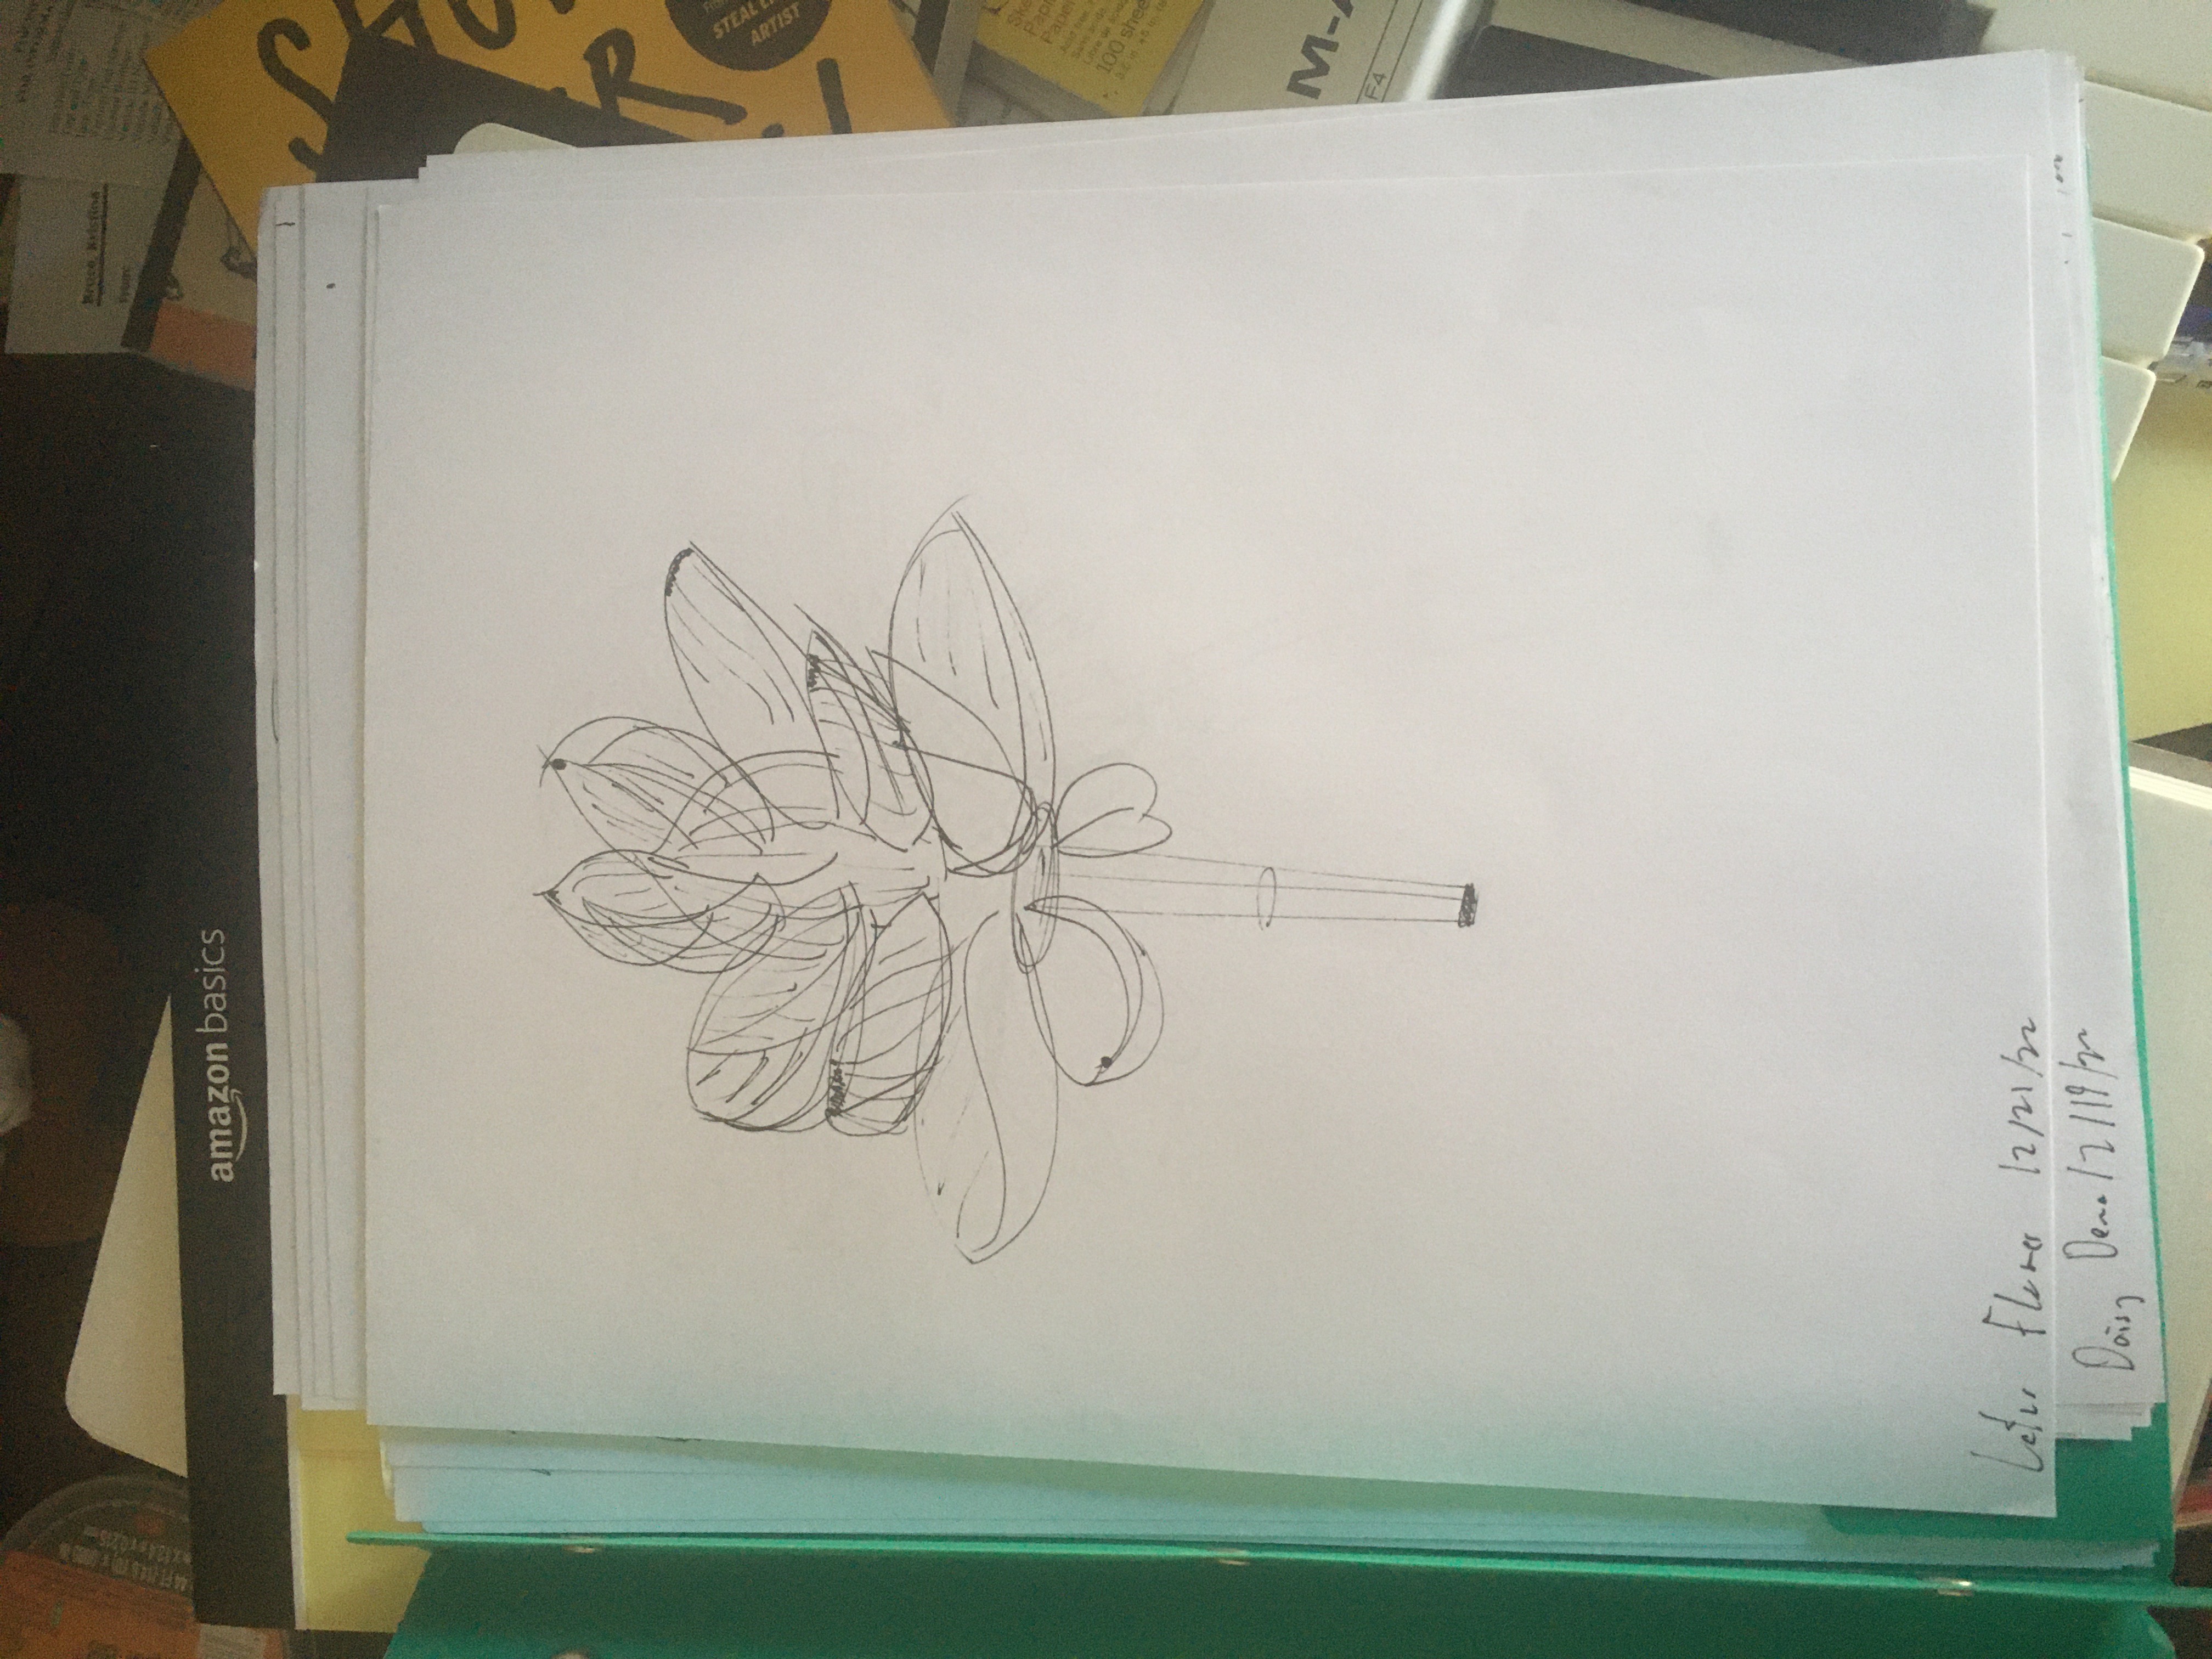
Construction on Plants
Studies of a Lotus Flower and leaves. 🍃
It's really fun to twist and curl thin forms!
These are part of a set of exercises from the Drawabox curriculum.

Junkyard Jam
Jamming over AC New Murder's Junkyard Jam. 🗑
Still so happy with how the vibe turned out with this track. It sounds like a leather jacket and sunglasses. 😎
By the way, you can —
Debating Stage Names
I'm gearing up to get my music on Spotify! A pretty exciting step!
But I've hit a problem: There are already 3 folks named Chris Padilla on Spotify.
It's not a new problem. In high school, I was one of 5 Chris's that played saxophone.
I'm used to having to mix up my usernames across apps and sites, but this is my whole name we're talking about!
Worth noting: It's not just a musician or an artist concern, it's a professional concern! Even Wes Bos and Scott Tolinski talked about this on Syntax.
I got this advice from Distrokid:
Ideally, if someone already has the name, you should come up with a different name. In the world of actors, for example, no two actors are allowed to have the same name as each other and both belong to SAG (the actors union). That's why Samuel L. Jackson is Samuel L. Jackson, and not Sam Jackson or Samuel Jackson -- those names were taken. If you want to look like a pro, suck it up and come up with a different name if yours is already taken.
Fair enough. So now I'm in that spot where I'm coming up with a name.
The process so far is somewhere between writing down inspirations, aesthetics I like (colors, themes, the like), and also turning to a random name generator to see what sticks.
Benefits of a Stage Name
I've liked being just "Chris Padilla" pretty much everywhere. It's kept things simple and easy for the most part. Even with music, just knowing that it's my solo project and that it can all be pointed back here.
I'm not the only Chris that does this, either!
But.
There are some exciting opportunities with stage names.
First: A stage name can encapsulate a project. Done with a set of ideas and themes? No problem! Change names and move on! Prince did it for more contractual terms, but it still worked for him!
Second: It brings an opportunity for clarity between those projects. A problem I'm starting to have is that when someone asks "What do you do?" The answer is: Software, music writing, saxophone performing, drawing, blogging, teaching. Potentially, the list could continue to grow over a lifetime! As a human being, that all can be contained within one Chris Padilla. But if you want to talk marketing terms, it gets difficult to say "Chris Padilla — Developer, Musician, Doodler, Internet Guy, Baker of Pies..." and so on.
Third: A healthy dose of separation between "The Real You" and "Public You." Derek Sivers says this well. I don't have the pleasure of being big enough for strangers on the internet to criticize me, but should I ever be, it's easier to say "Well, they're talking about Chris D Padilla. Not me, just Chris."
Fourth: There's a certain freedom that comes from a stage name. I always felt that by performing on stage, you had a chance to embody a character. To step into a person, mindset, and mood you might not otherwise channel in your day-to-day life. A stage name is just another layer of that. Online, there's no clear stage. But a name can be like putting on a super-suit in that way.
It's funny how some domains don't have that choice. Authors, speakers, most professional work — it's all on your real name for the most part. But I think there is something to be said about how we are separate from the roles we step into.
(Well drat, but that's not entirely true! R.L Stein, Lemony Snicket, Paul Creston — all Pseudonyms!)
But, Then Again
There's also the benefits of consistency! Unambiguous, less elevated and pretentious feeling, less "webby" (I'm thinking of Twitter handles and gaming tags), more personal, and the benefit of carrying any reputation with you even as you pivot and transition through domains.
Also, maybe this is more of a problem if my name were Chris Martin. There's a really famous Christ Martin already, of course.
And then, on top of that, context matters! If I'm talking about L. Armstrong, you'll know who I mean if I'm in the midst of talking about famous Jazz musicians. You won't confuse Louie Armstrong for Lance Armstrong there.
If we're talking about SEO, a quick search of "Chris Padilla Sax" will pull up my YouTube channel of Sax videos. You won't even be recommended the Wikipedia page for former Under Secretary for International Trade Christopher A. Padilla.
So, maybe it's not as much of a problem.